前两天新建了主页,今天点进去瞧瞧发现怎么没有评论功能,赶紧看看,发现作者krisyu的主页是有该功能的,那我知道是我还有地方没完成配置或者配置不对了。
仔细再对比看看,此模板的评论功能是依赖disqus的,现在记下实现步骤:
1.注册/登录disqus账号
过程略…
2.创建站点
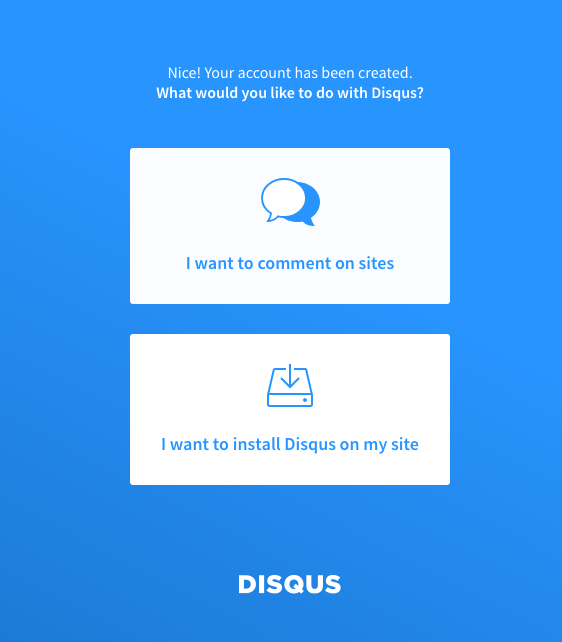
进入disqus首页:

选择:”I want to install Disqus on my site”
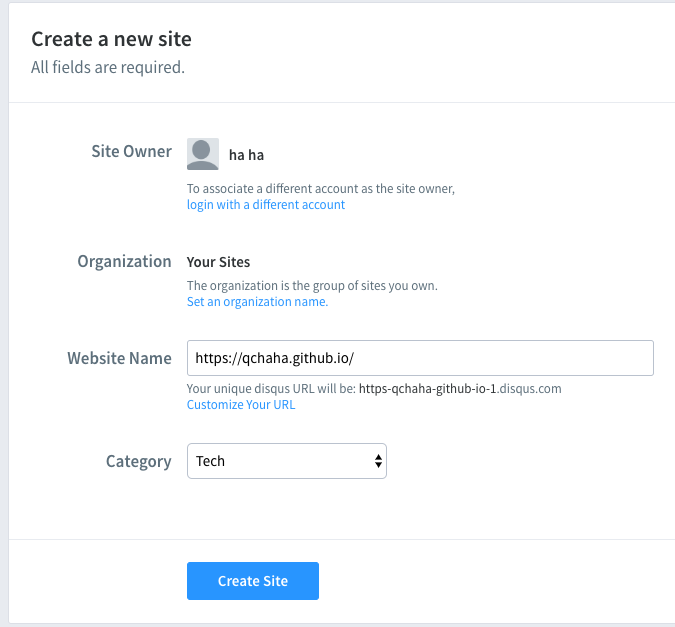
填写”Website Name”,其实这个就是决定disqus的shortName,填写后shortName会显示出来,我的shortName就是:”https-qchaha-github-io”,由于截图时我已经创建好,所以图上显示的shortName是”https-qchaha-github-io-1”,我们以前者为准。
3.配置站点
现在可以使用刚才填写好的“Website Name”来进入站点配置界面,例如我的就是”https://https-qchaha-github-io.disqus.com/admin/”
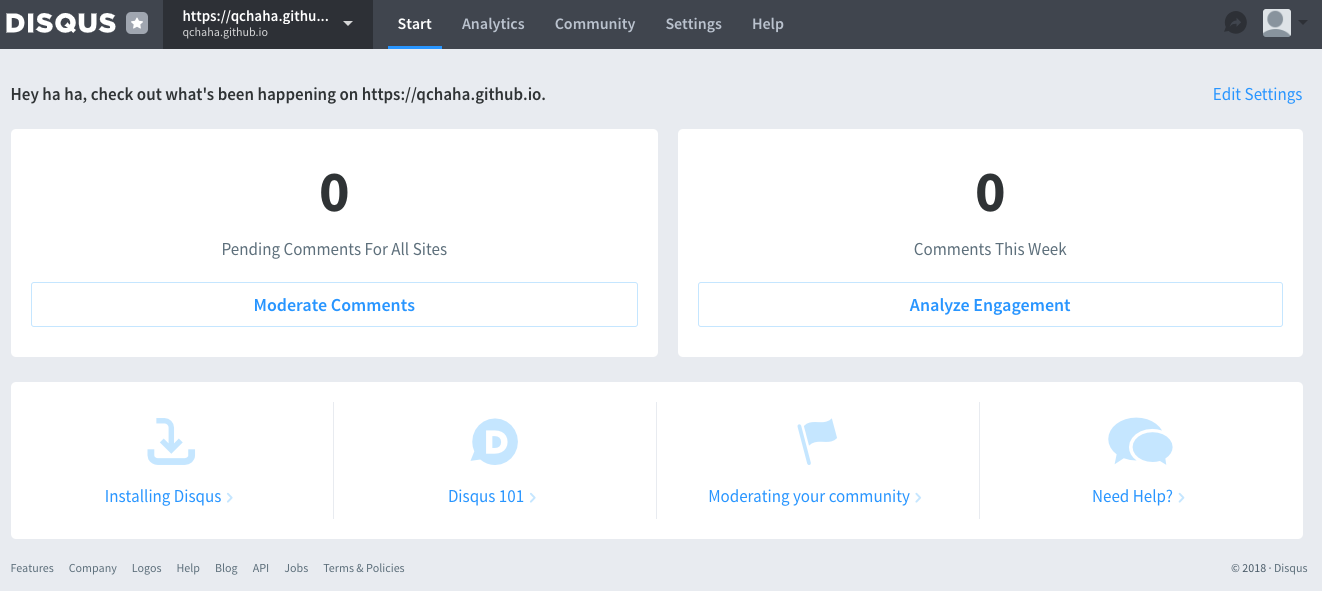
点击”Installing Disqus”
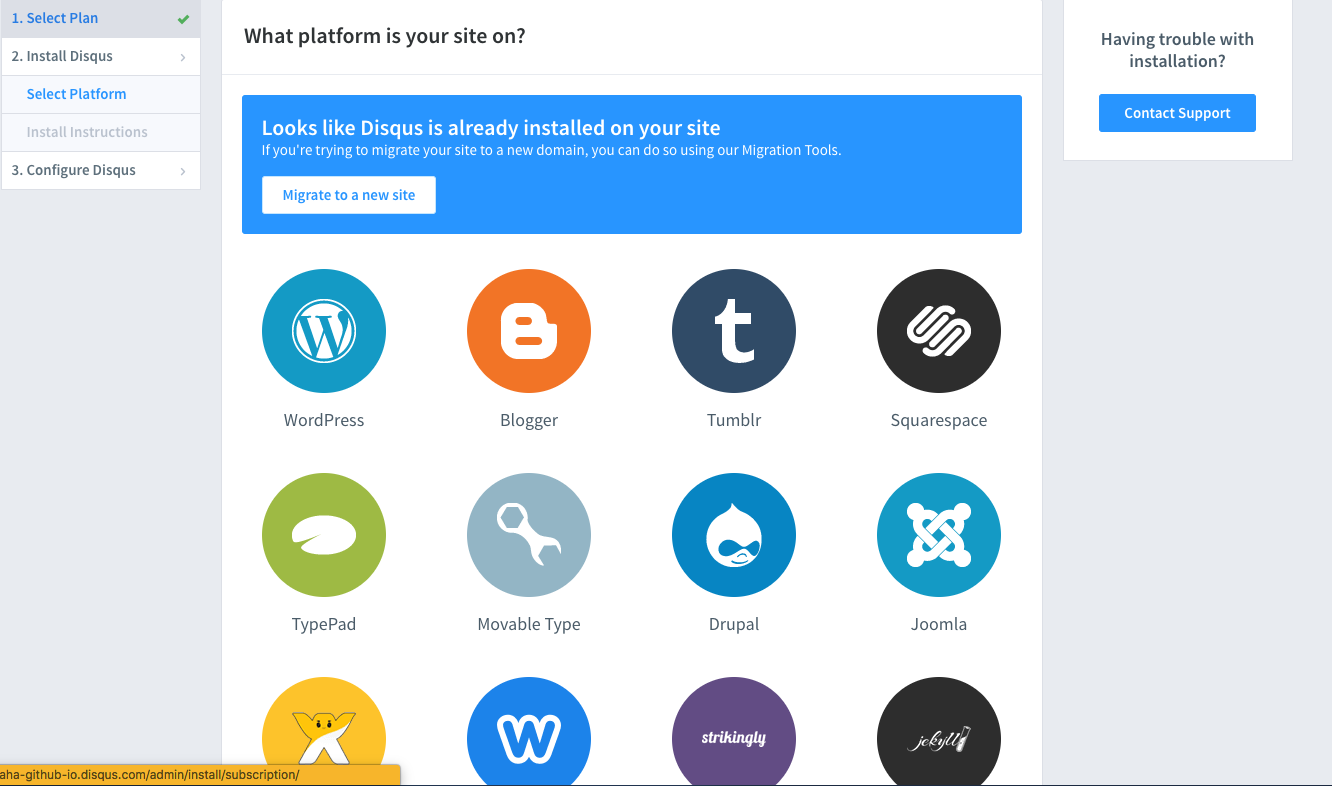
选择我们的主页的原模板(jekyll)

点击”Configure”
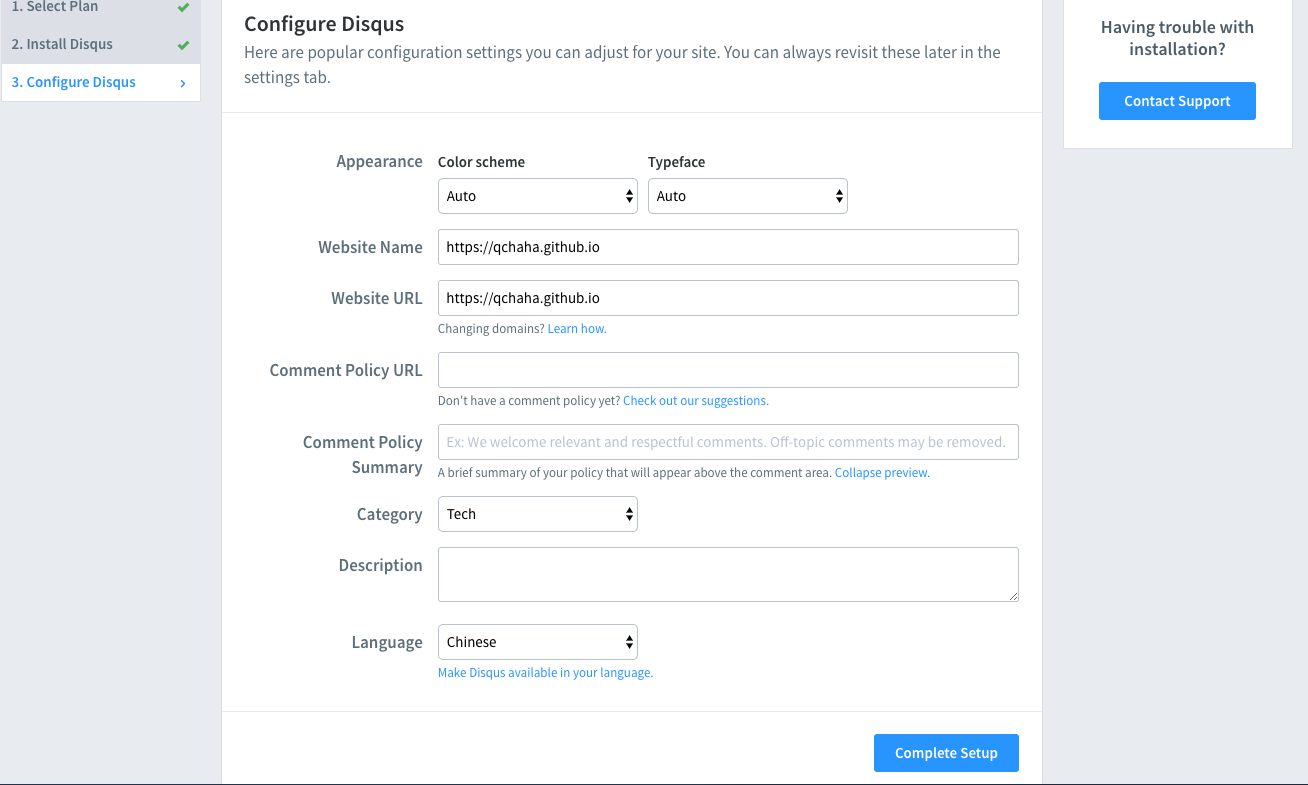
按实际情况填写好信息后,点击”Complete Setup”即可,我只填了如上图所示的内容。
4.配置jekell模板
找到代码目录下的_config.yml文件,添加disqus变量:
# Comments
disqus:
  shortname: https-qchaha-github-io   # your disqus shortname
如果是使用krisyu的模板,到这里应该已经可以加载disqus评论功能了,如果还没成功,可以关注一下模板文件中是否有这一段引用,例如这是我的_layouts/post.html模板:
{% if site.disqus %}
<div id="disqus_thread">
  <script>
    var disqus_config = function () {
      this.page.url = '{{ page.url | absolute_url }}';
      this.page.identifier = '{{ page.url | absolute_url }}';
    };
    (function() {
      var d = document, s = d.createElement('script');
      s.src = 'https://{{ site.disqus.shortname }}.disqus.com/embed.js';
      s.setAttribute('data-timestamp', +new Date());
      (d.head || d.body).appendChild(s);
    })();
  </script>
  <noscript>Please enable JavaScript to view the <a href="https://disqus.com/?ref_noscript" rel="nofollow">comments powered by     Disqus.</a></noscript>
{% endif %}
</div>
5.成果
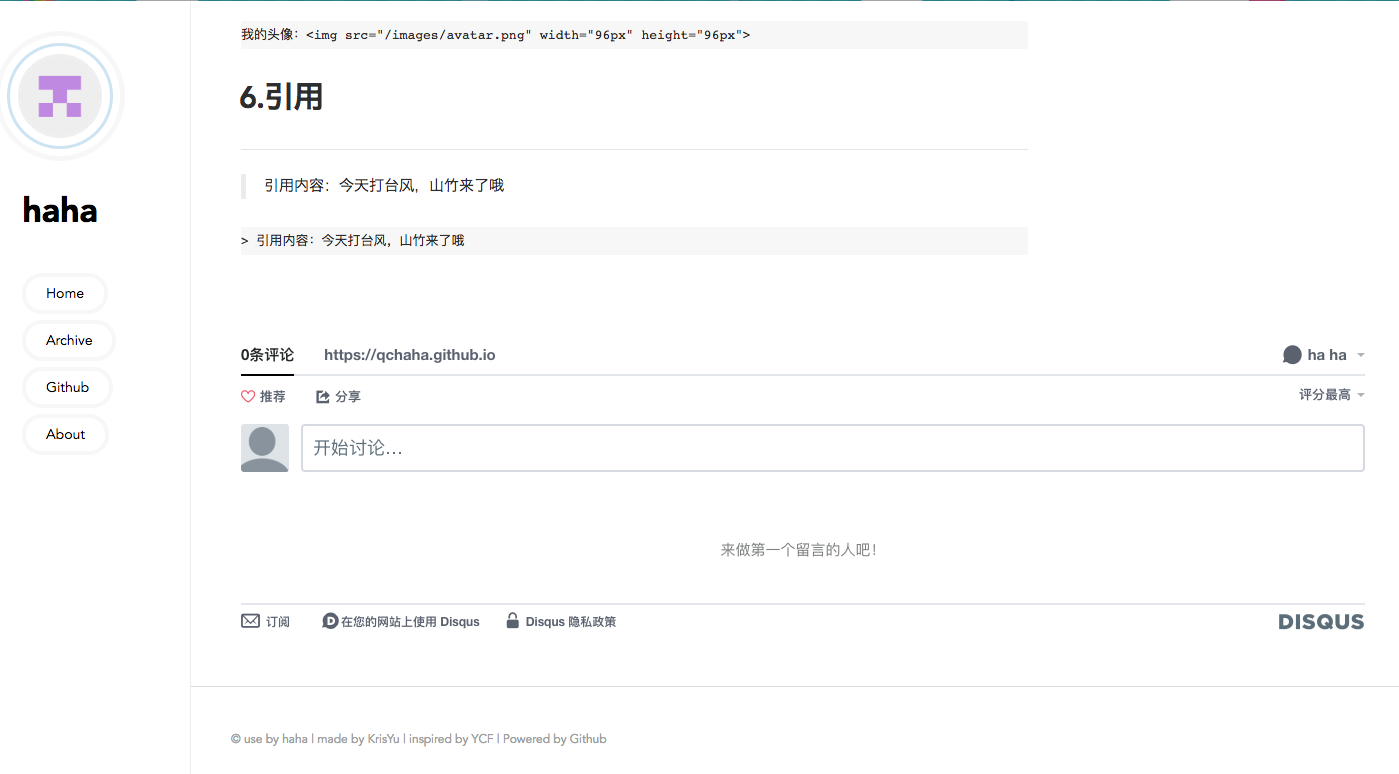
6.补充
在搭建完成后了解到为何要使用disqus来实现评论功能,是由于Jekyll是一个基于ruby的静态网页生成器,所以不具有服务端或数据库功能,因此需要加载第三方插件来实现评论功能,disqus则是其中一个非常流行的实现方法。